01 Create
Draw, create and design.
Built for your workshop
Draw and design your parts, assess and improve your images, and nest your shapes to save material. Prepare your job and preview the result before sending it to your laser — all in one application.
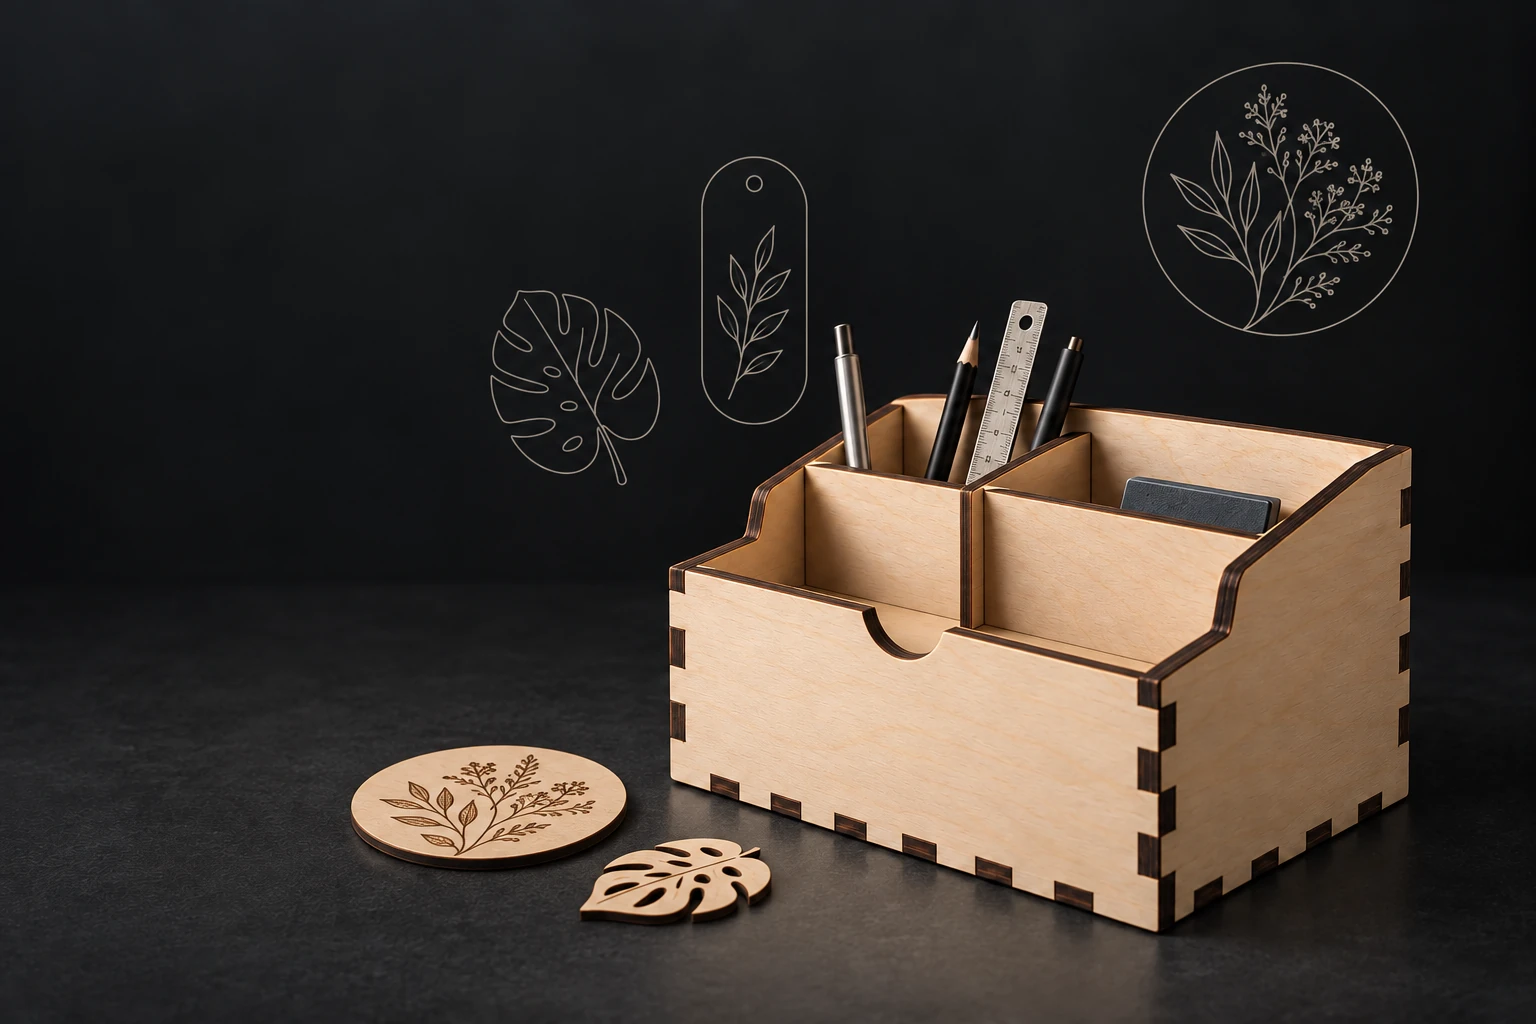
Your workflow
Draw, design, refine and prepare your job. Every tool works as part of the same workflow.
Draw, create and design.
Connect shapes and images to modifiers and fine-tune the result.
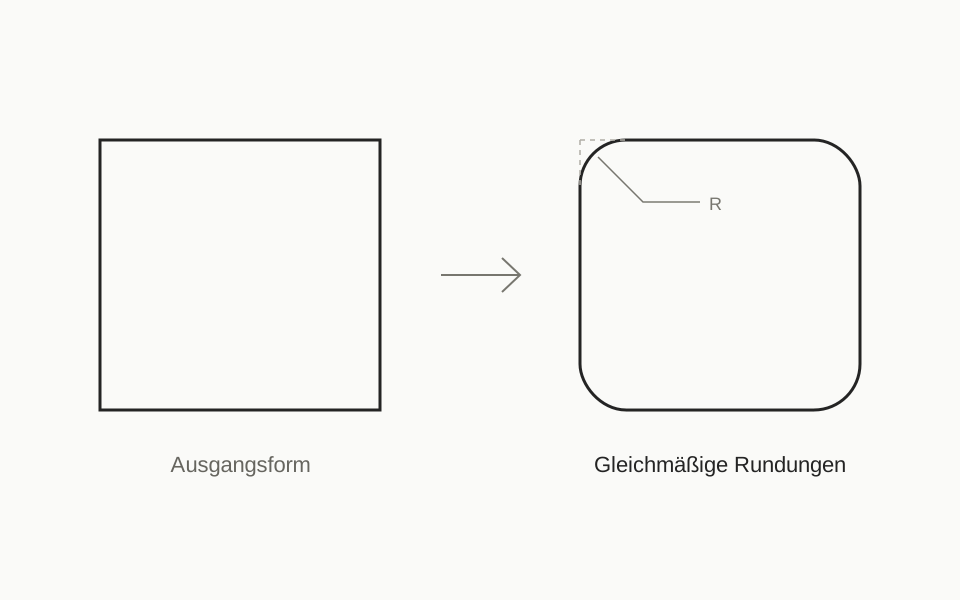
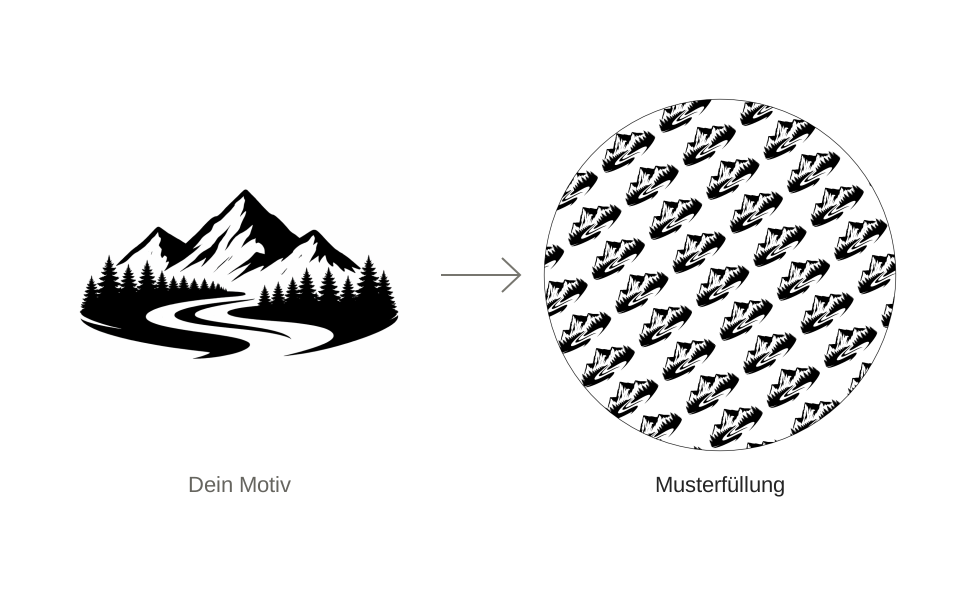
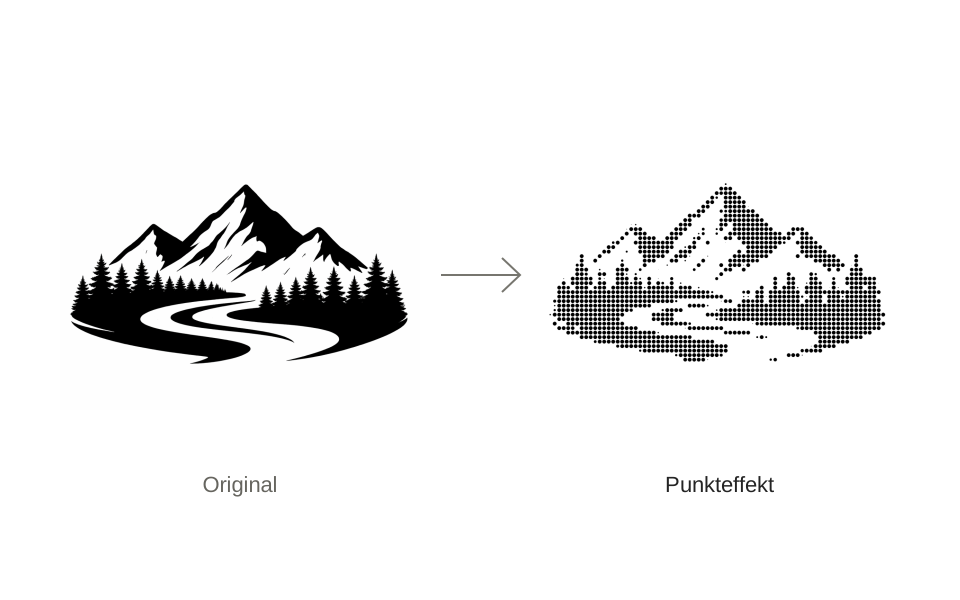
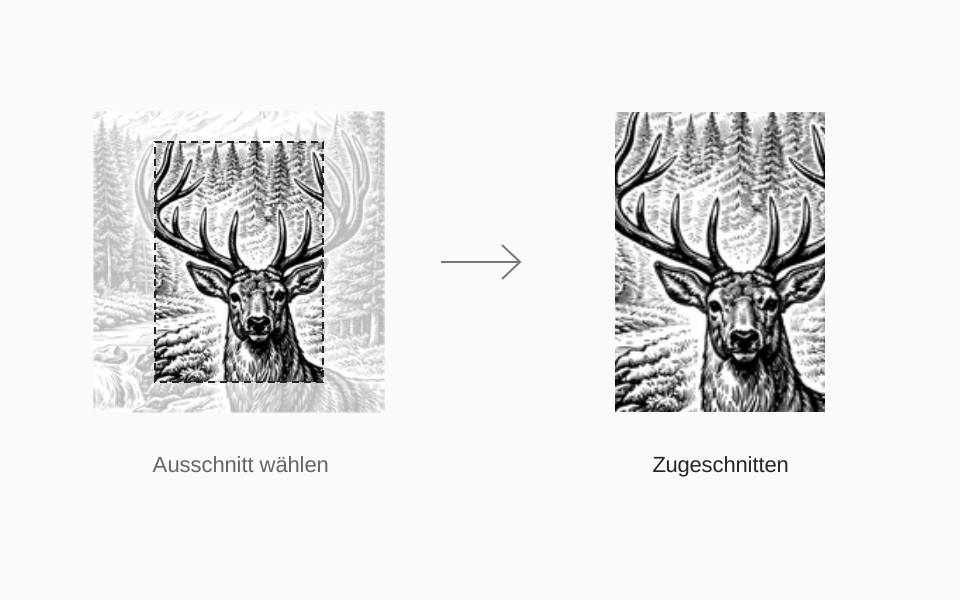
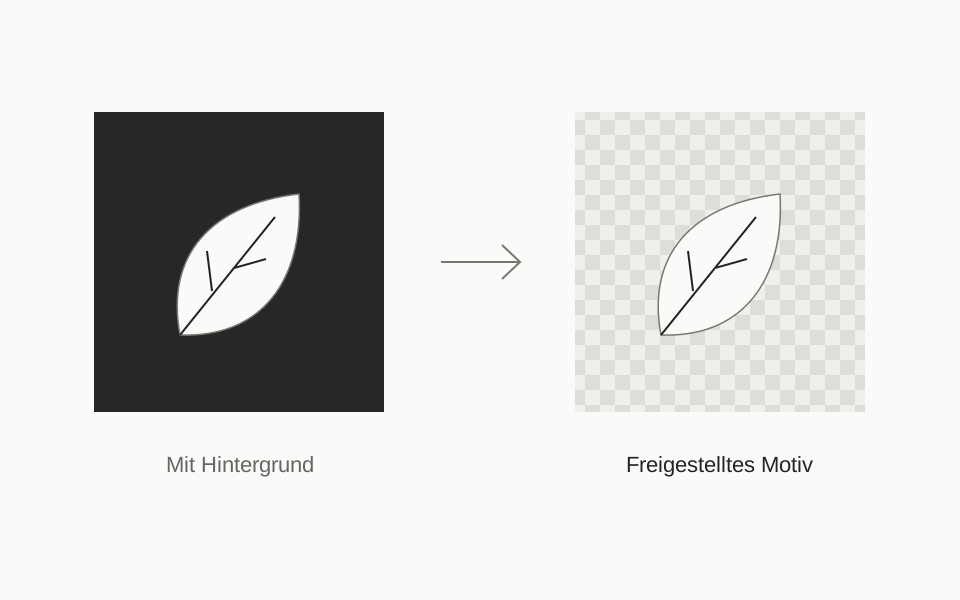
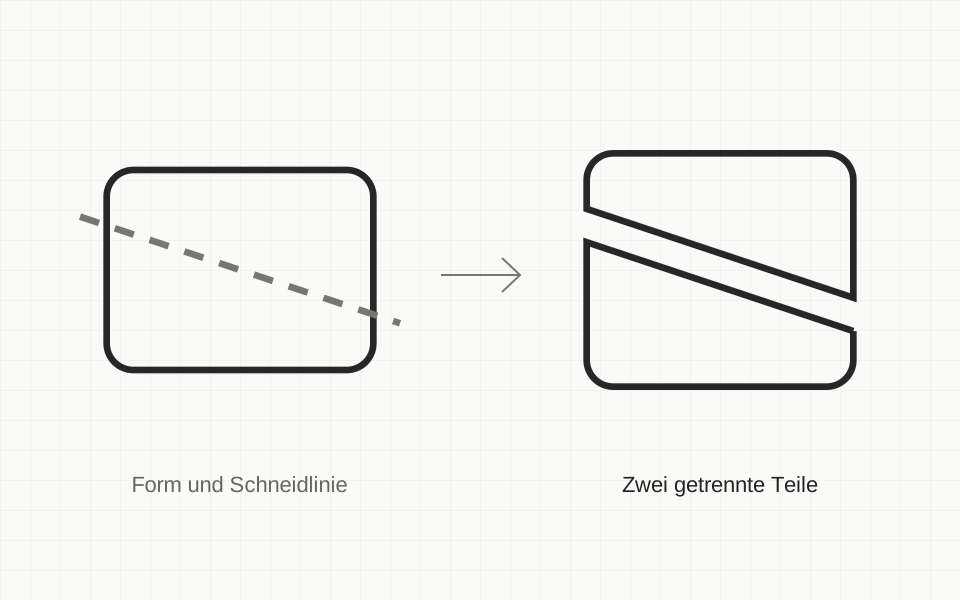
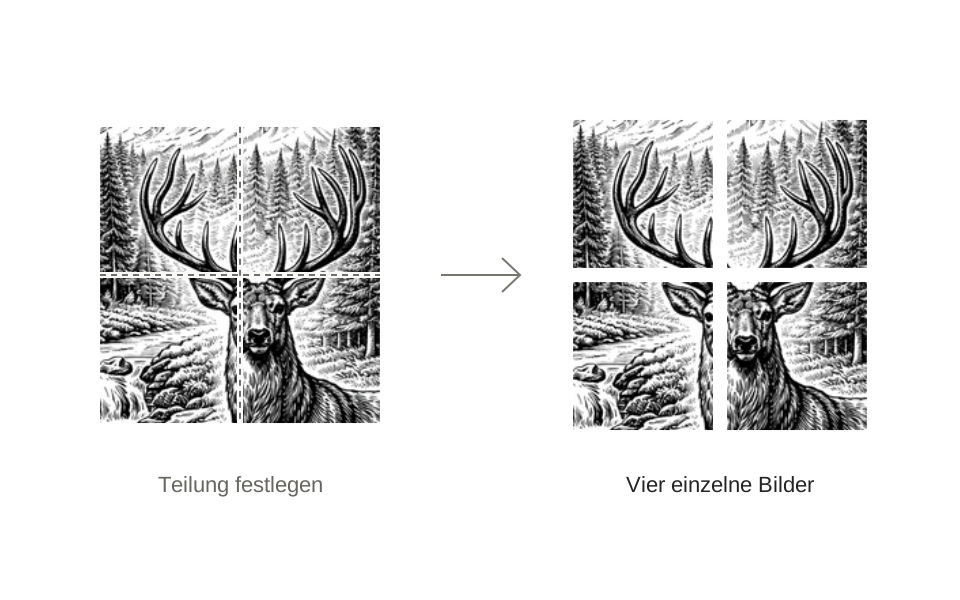
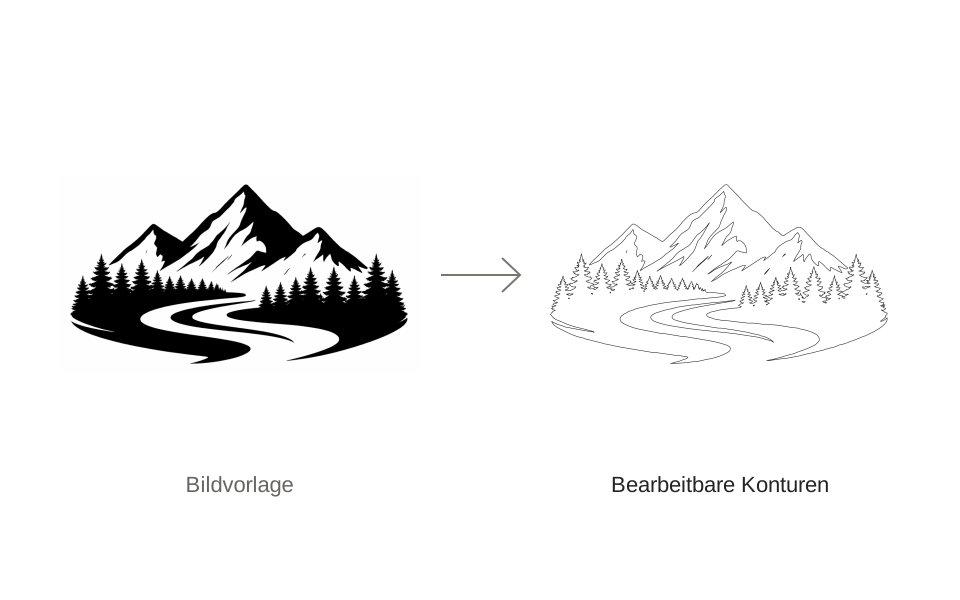
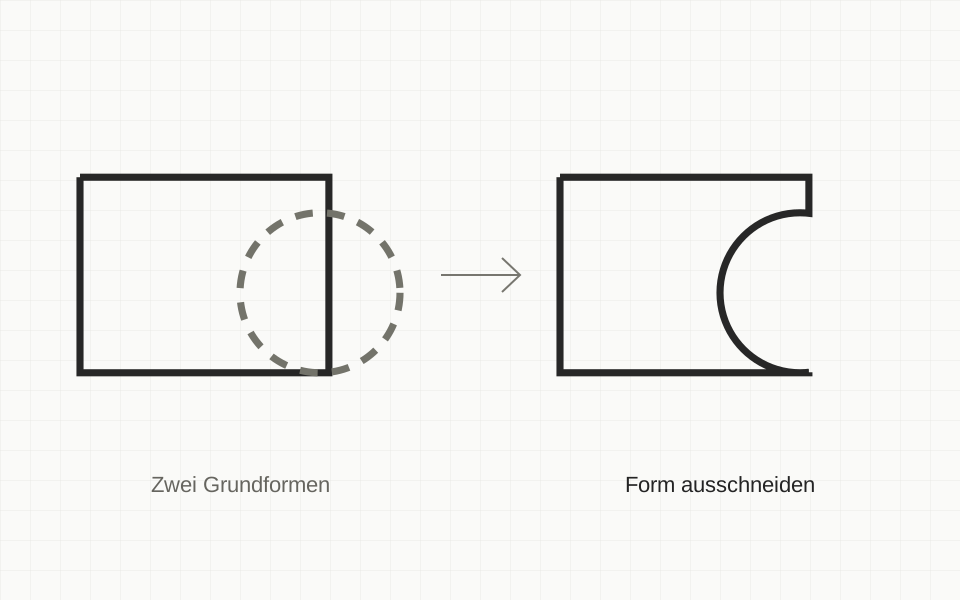
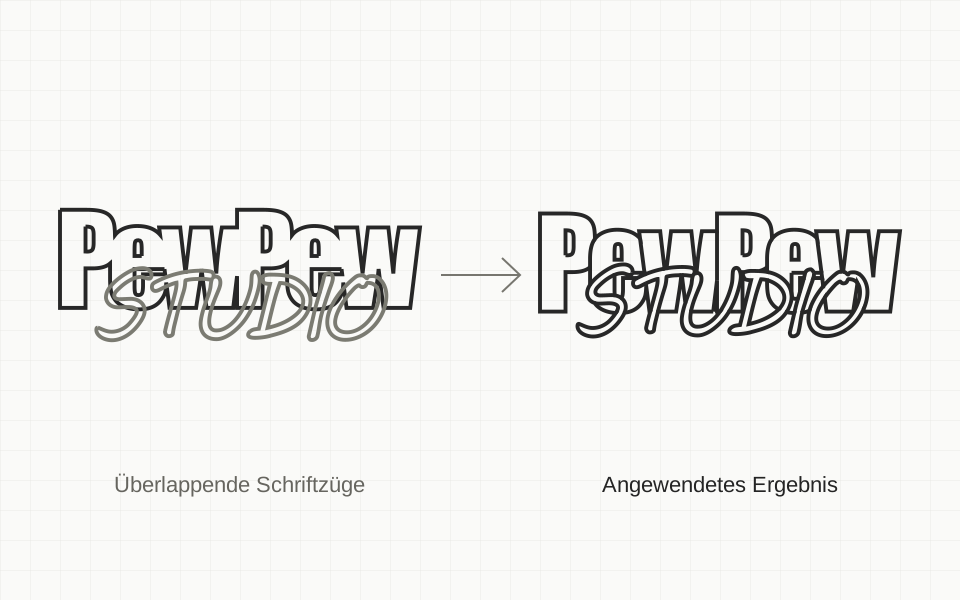
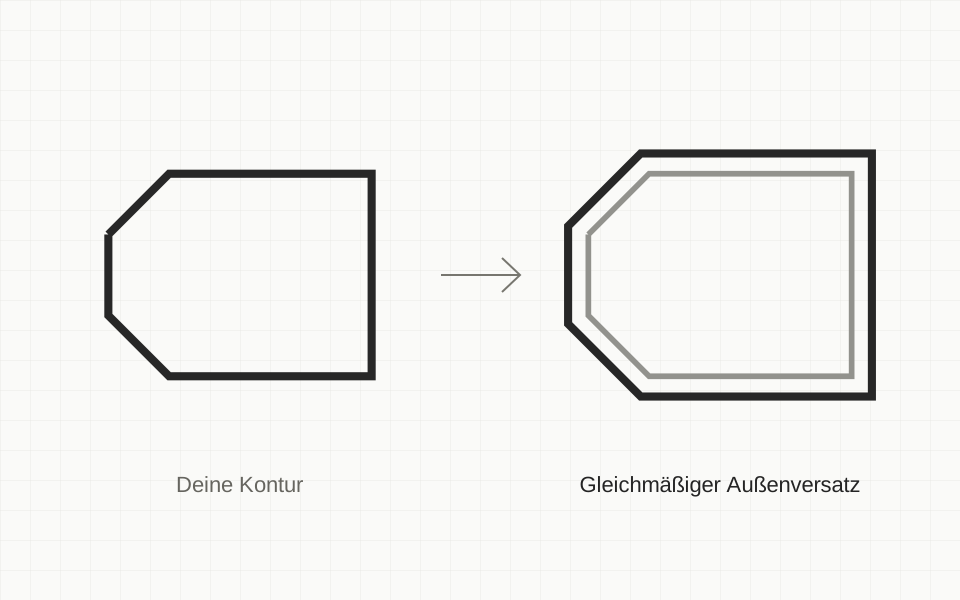
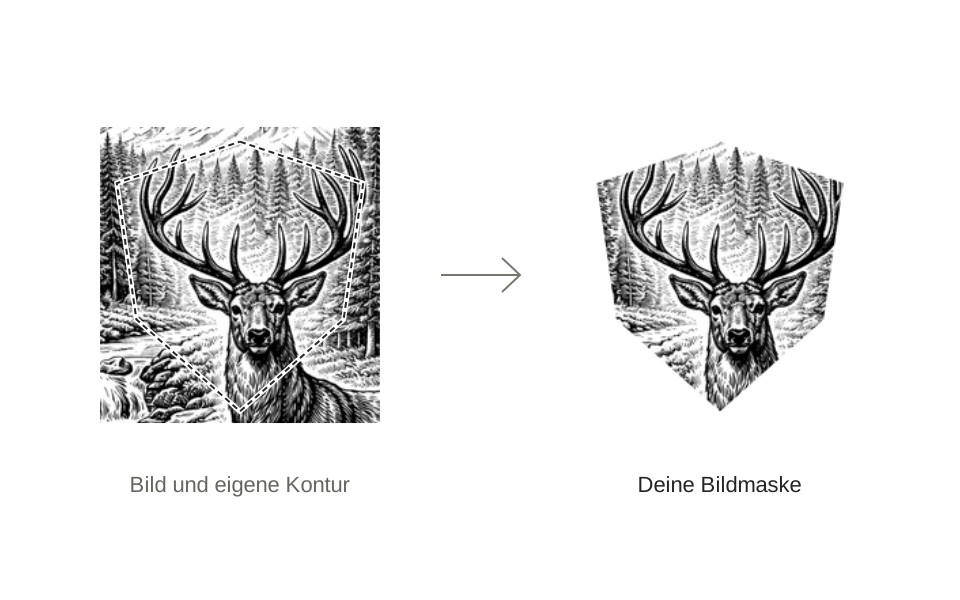
Check your job and prepare it for the machine.
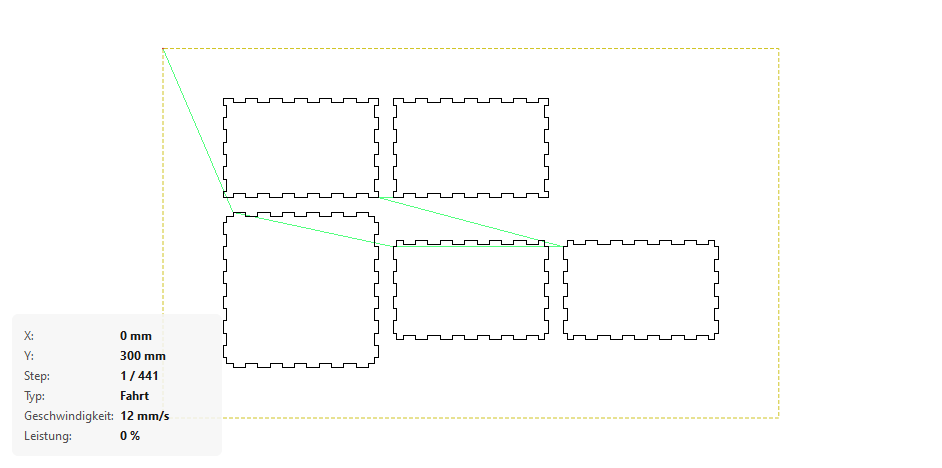
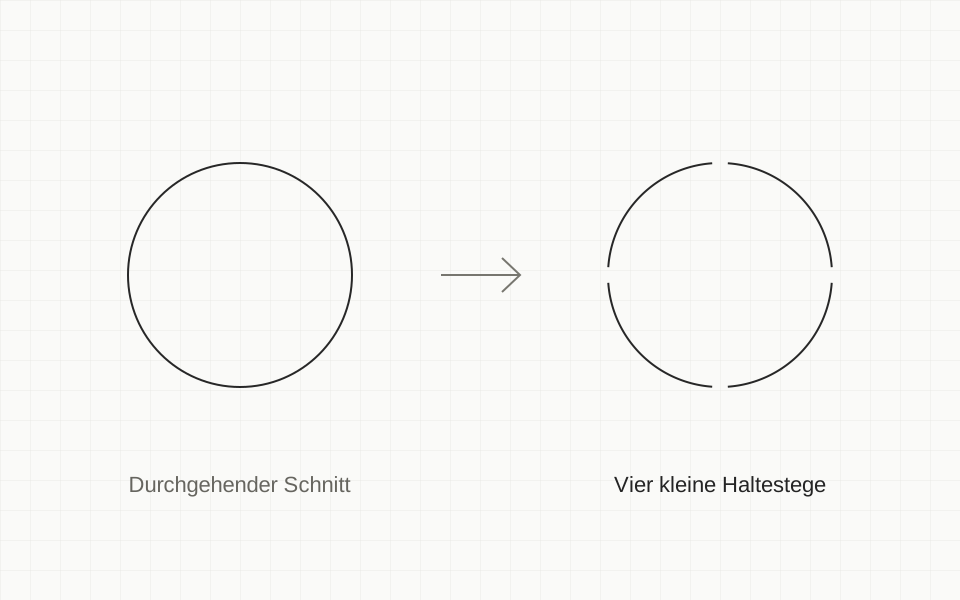
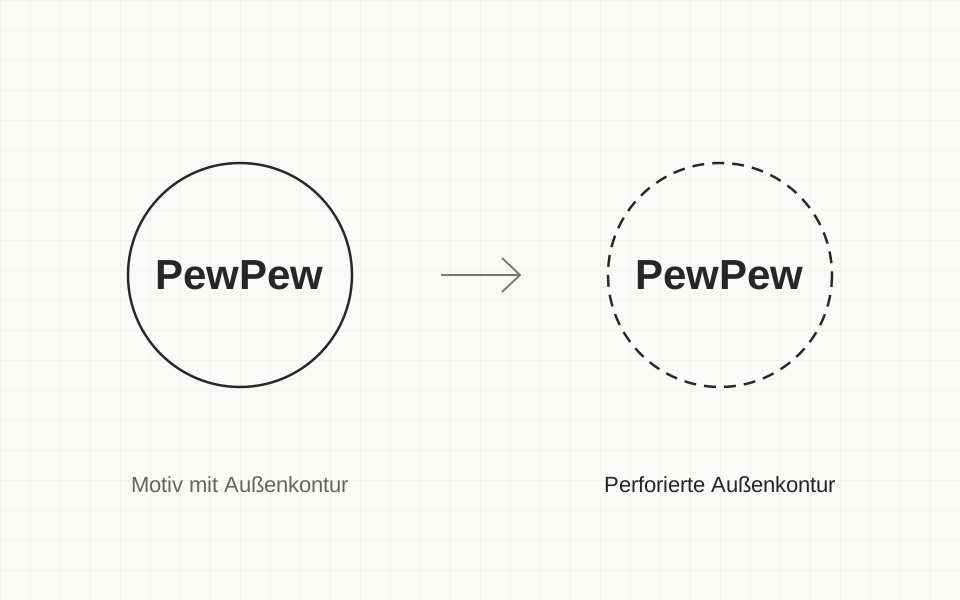
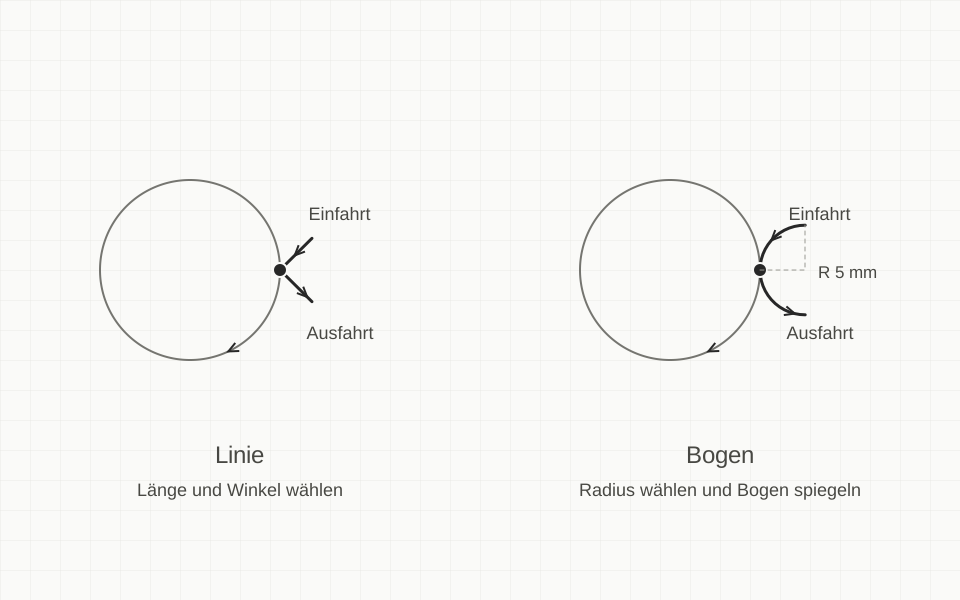

Illustrative application views · Cutting paths: actual application screenshot
01 Create — Draw — Design
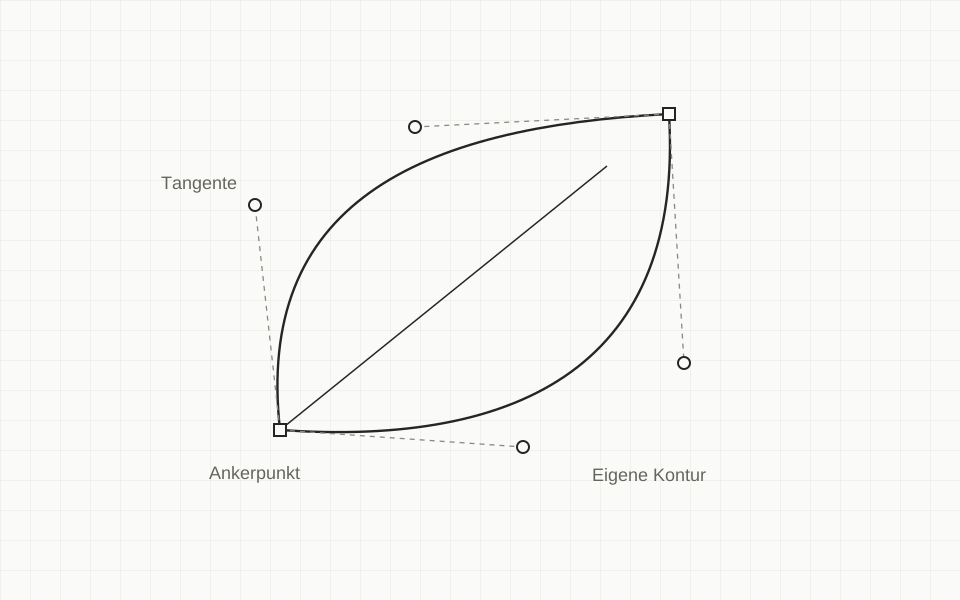
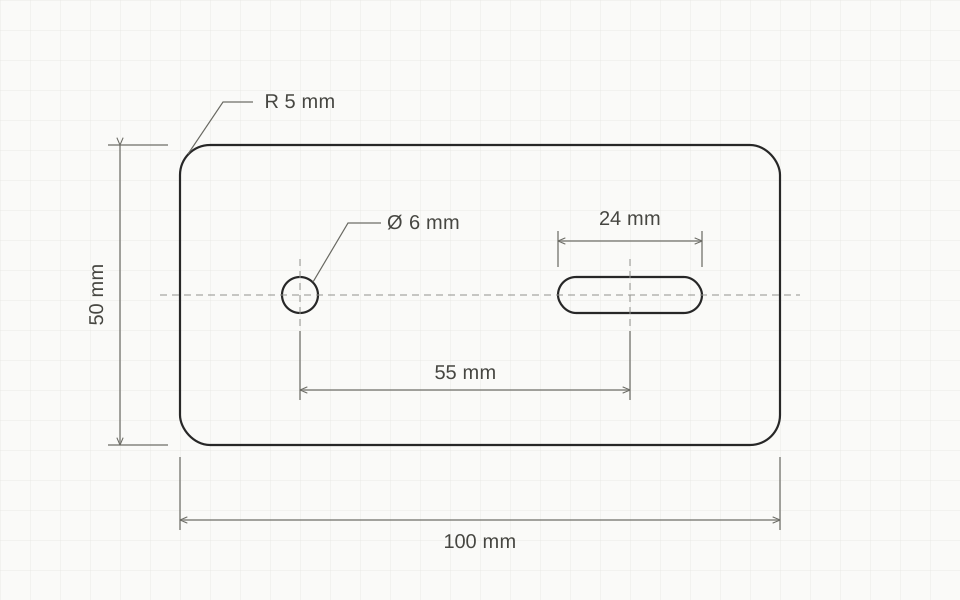
Create your own designs, draw precise outlines and design parts that fit. Use dimensions and geometric constraints to turn your idea into a template ready for your workpiece.
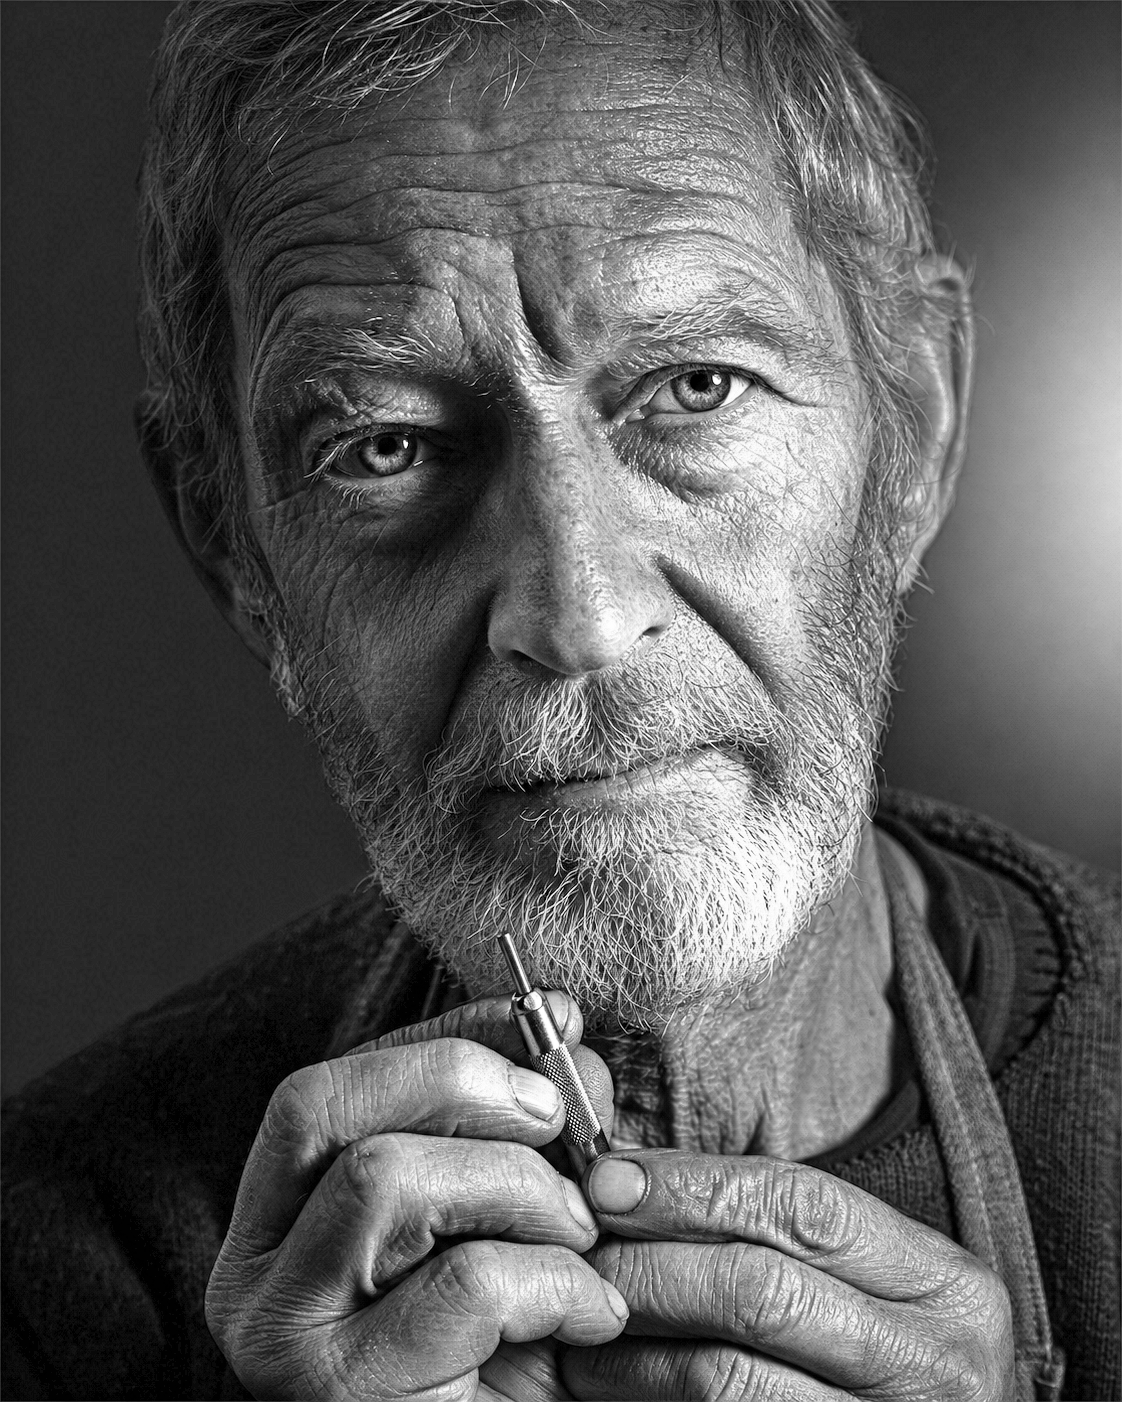
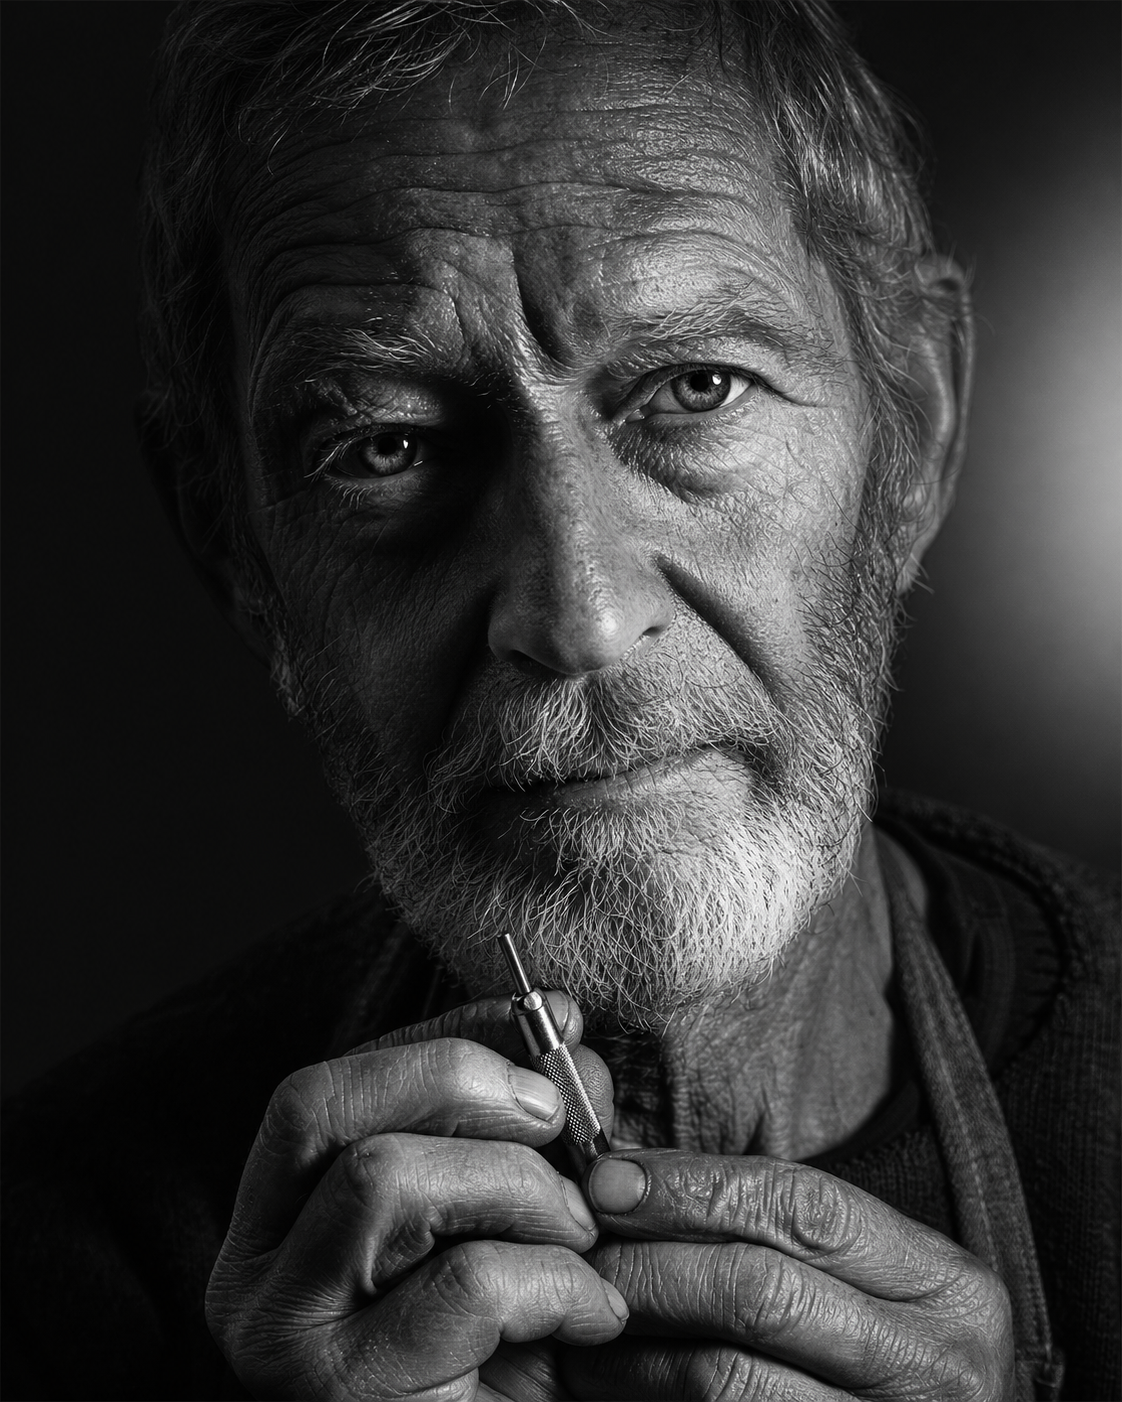
02 Image assessment and preparation
Bring out the potential in your image. PewPew Studio assesses tones, detail, noise and resolution, gives specific recommendations and automatically prepares your image.
Image assessment in this example
Recommendation: brighten the midtones.
The score assesses image preparation. The engraving result also depends on your material and laser settings.
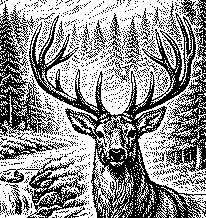
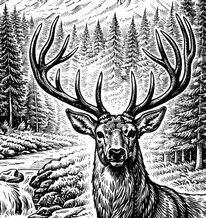
03 Image engraving
After preparing your image, convert it to a halftone for engraving. Light and dark areas become a pattern your laser can engrave. The enlarged deer head reveals the individual dots.
04 Nesting
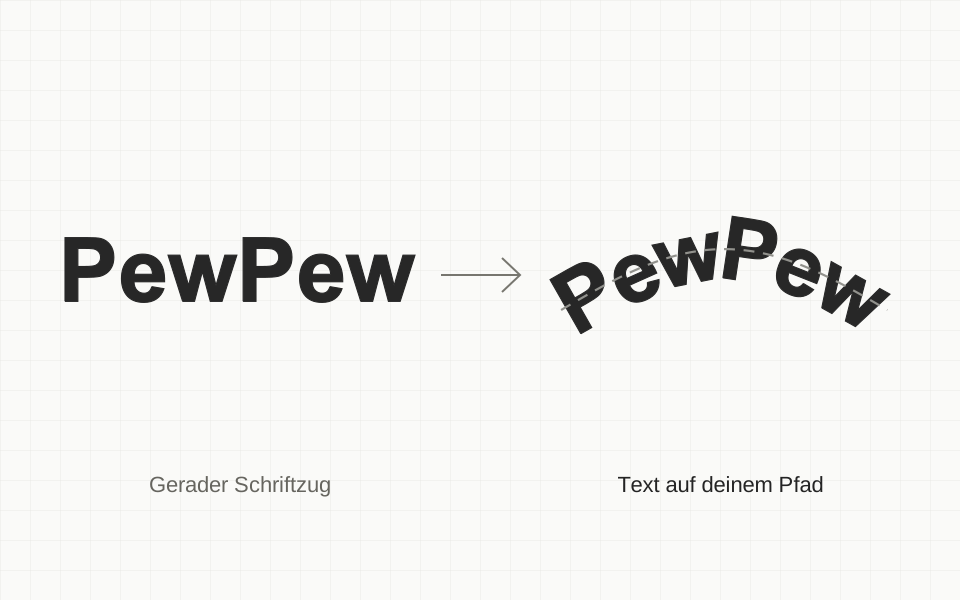
Nest shapes, images and text to save material. Related parts stay together as a group — even inside a boundary you have drawn yourself.
Layouts calculated in PewPew · Condensed sequence
05 Preview and output
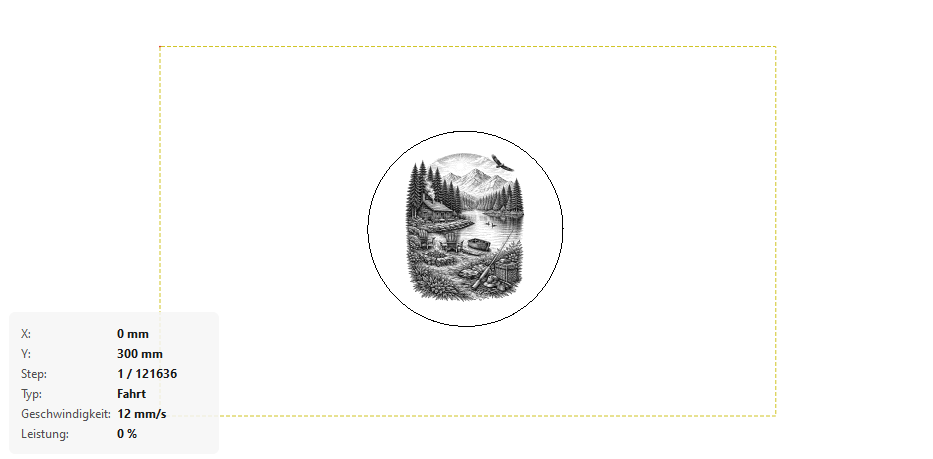
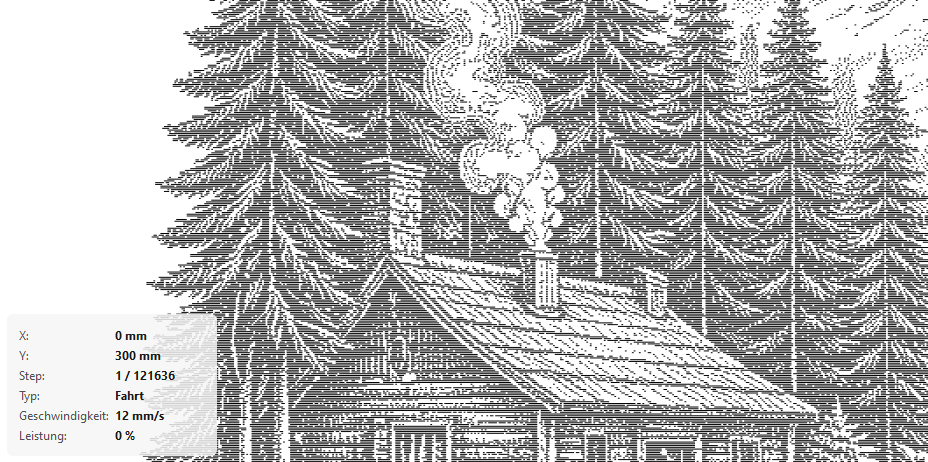
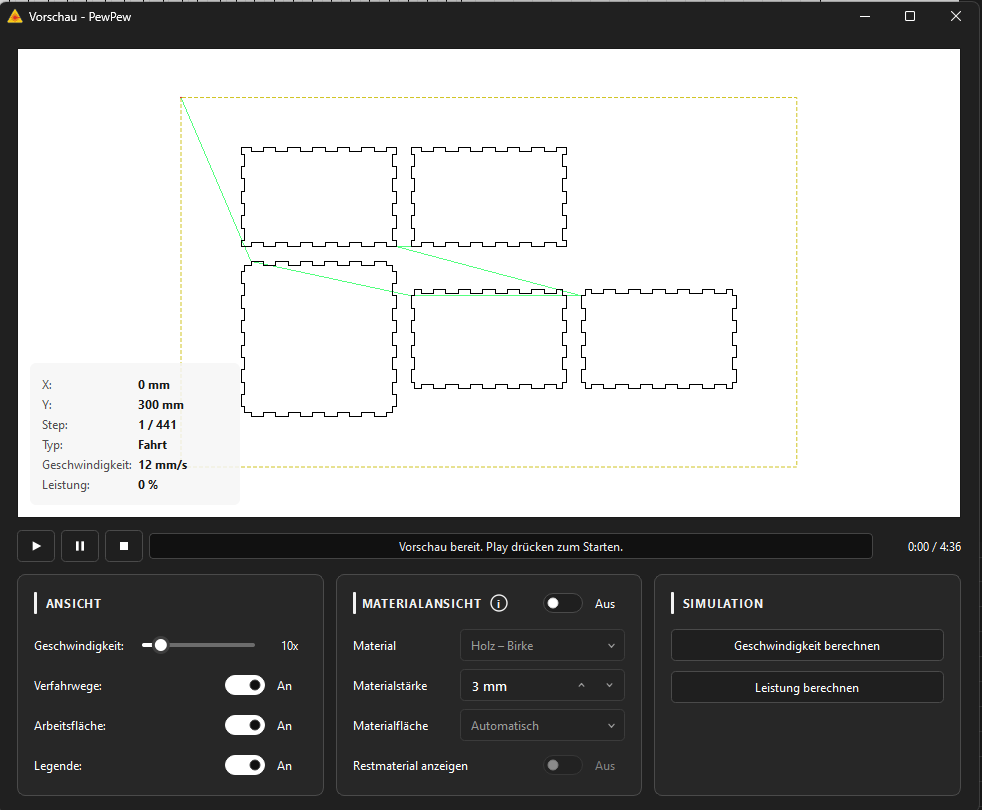
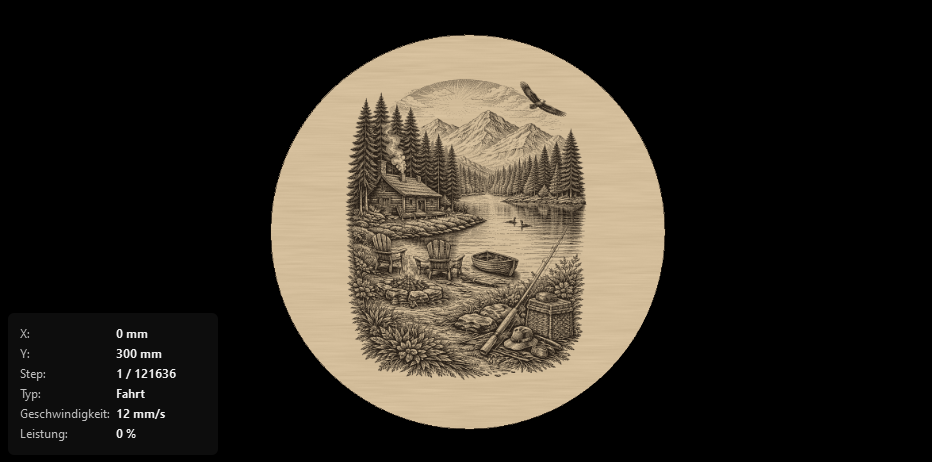
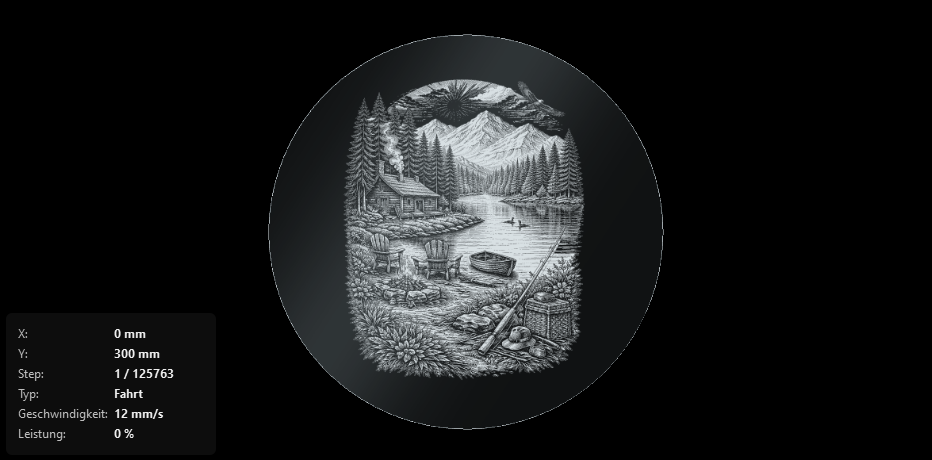
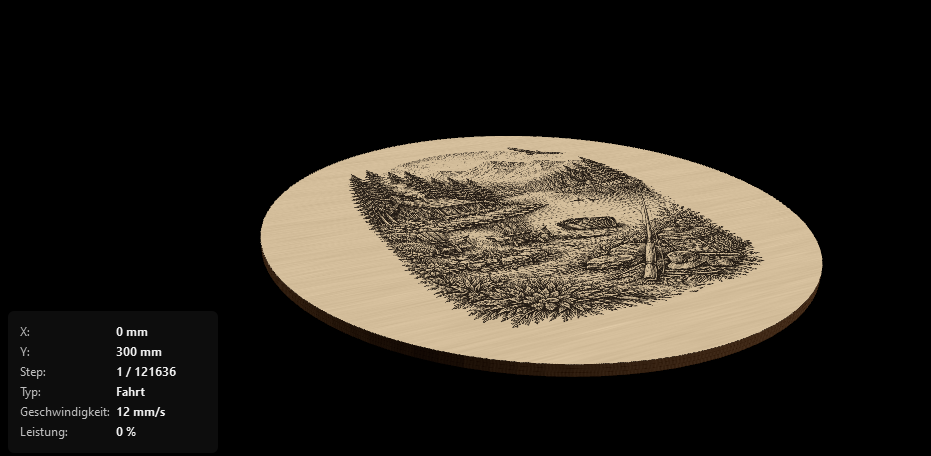
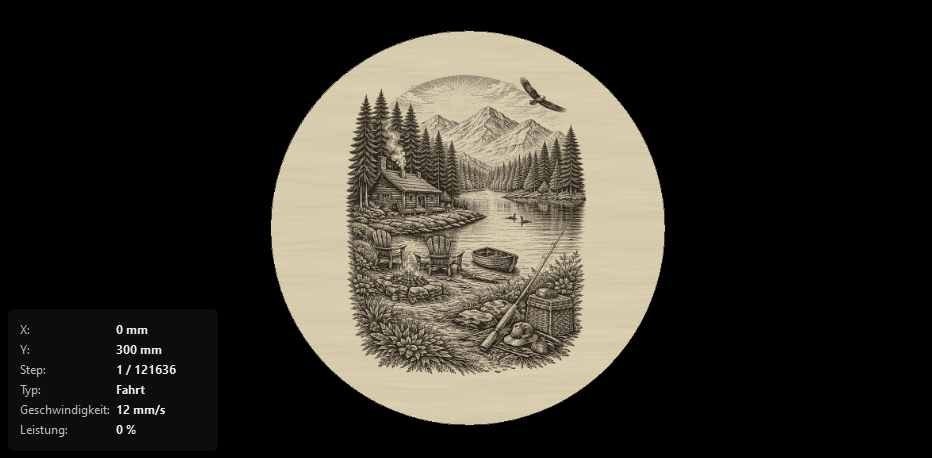
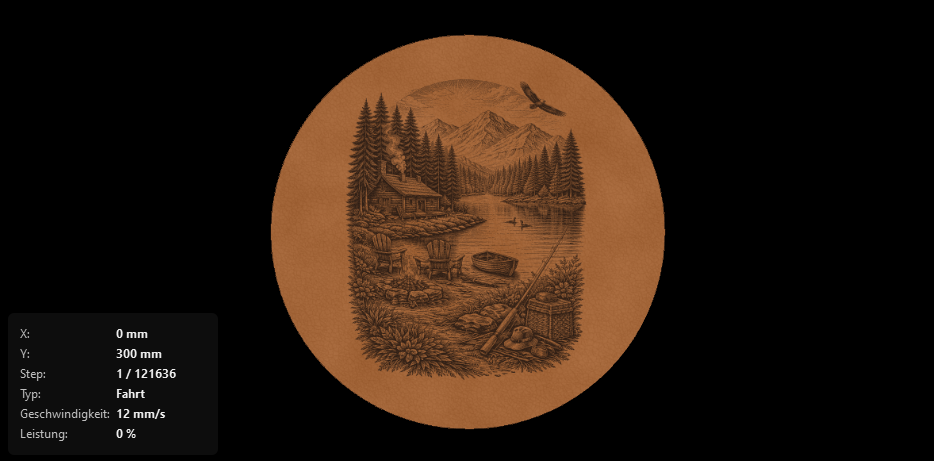
Follow cutting paths and travel moves in the preview, then see the same parts in the material view. Turn your planned sequence into a clear picture of the result.
Actual application screenshots · Click an image to enlarge it
Inspect surfaces and cut edges in the material view.
Review the planned toolpaths.
Output your job for the selected machine.
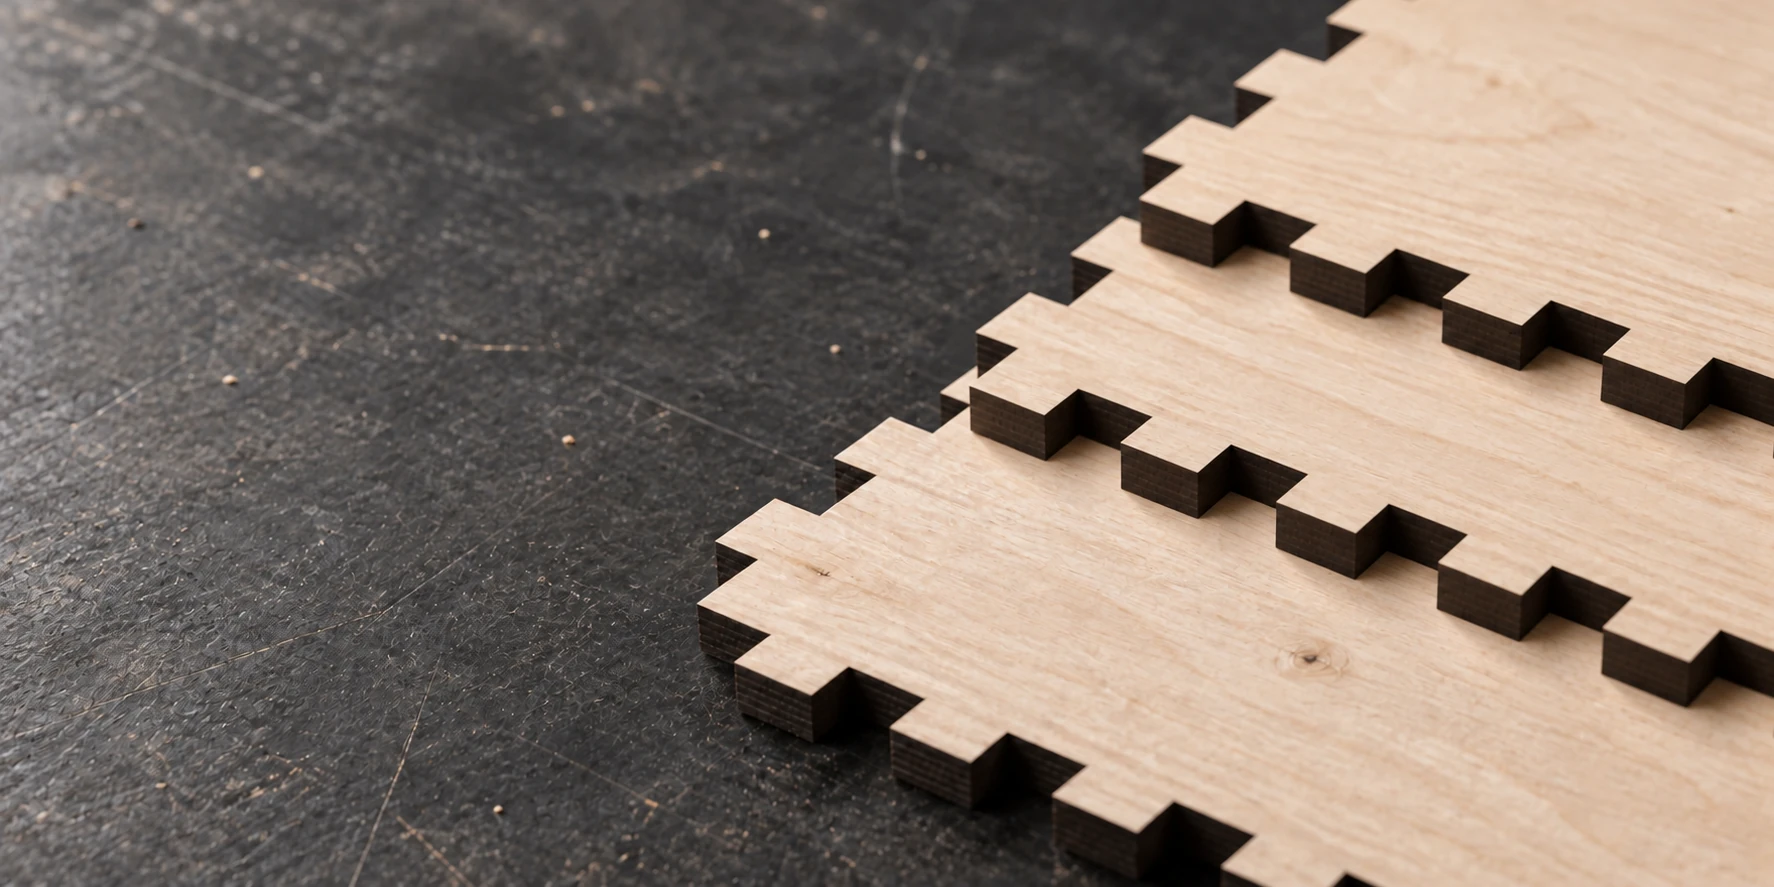
Built for your workshop.
Windows 64-bit · Version 1.0.16 · German interface